Sky Rider Drone Manual: Comprehensive Guide
This manual provides essential guidance for operating your Sky Rider drone, including safety, flight controls, and maintenance—translated from multiple languages for global accessibility.
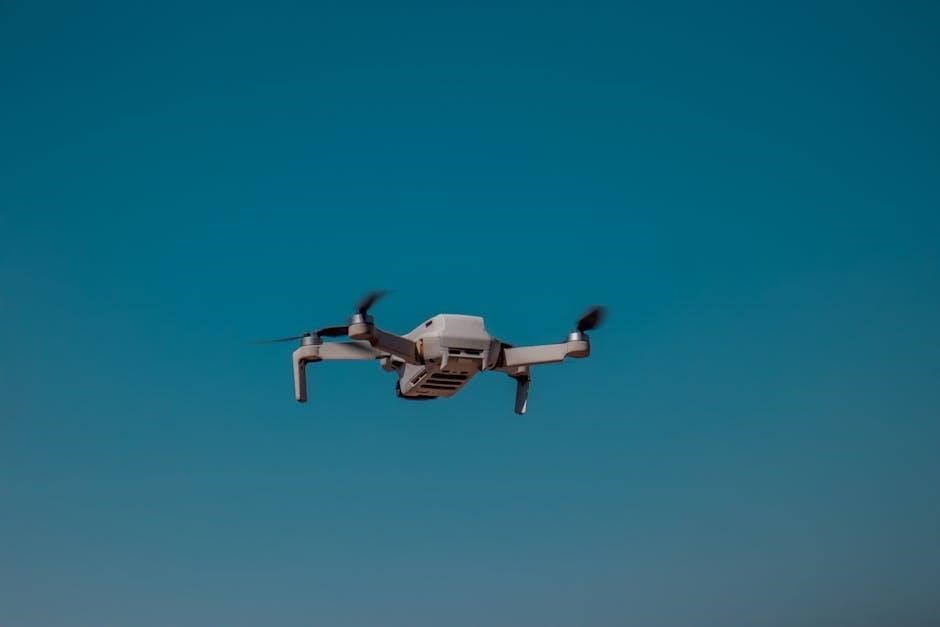
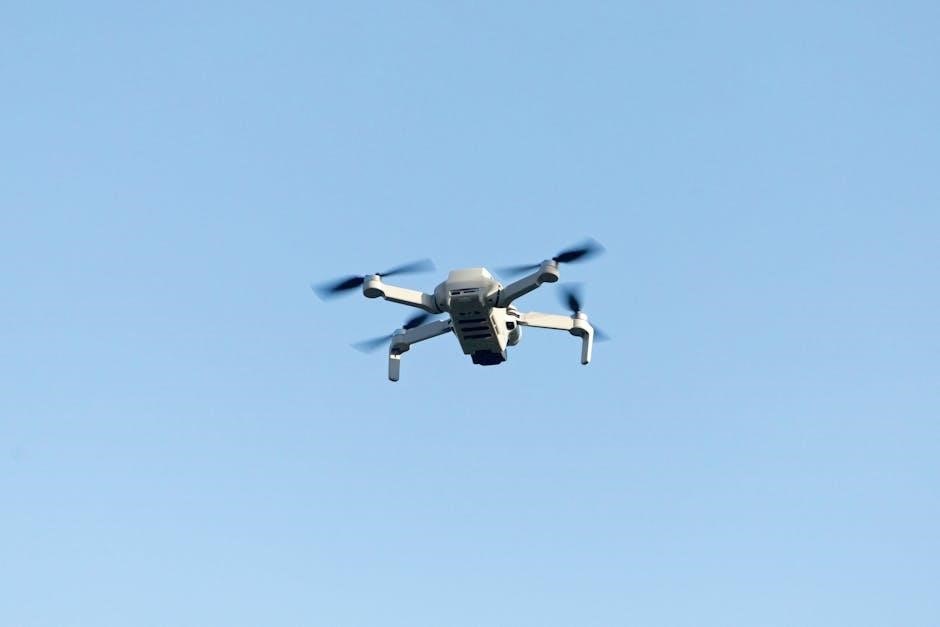
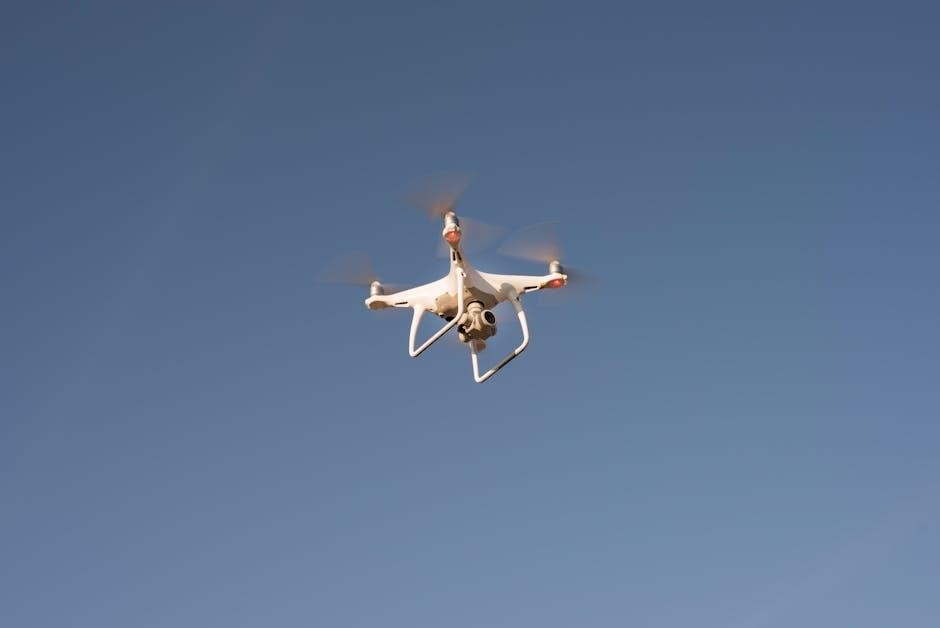
Welcome to the world of aerial photography and videography with the Sky Rider Drone! This cutting-edge drone is engineered for both beginners and experienced pilots, offering a seamless blend of advanced technology and user-friendly operation. The Sky Rider boasts a high-resolution camera, intelligent flight modes, and a robust design, ensuring stunning aerial captures and a reliable flying experience.
This manual serves as your comprehensive guide to unlocking the full potential of your Sky Rider. We’ll cover everything from initial setup and safety precautions to advanced flight techniques and troubleshooting. Understanding each section will empower you to confidently navigate the skies and create breathtaking content. Prepare for an exhilarating journey into the realm of drone flight!
Unboxing and Component Checklist
Carefully unpack your Sky Rider Drone and verify all components are present. Your package should include the drone body, remote controller, intelligent flight battery, a dedicated charging hub, a set of spare propellers (clockwise and counter-clockwise), and a toolkit containing necessary screwdrivers and a propeller wrench.
Additionally, you’ll find the battery charging cable, a user manual (this document!), and potentially quick start guides. Inspect each item for any visible damage sustained during shipping. If anything is missing or appears damaged, immediately contact our customer support team for assistance. Proper inventory ensures a smooth setup and enjoyable flying experience.
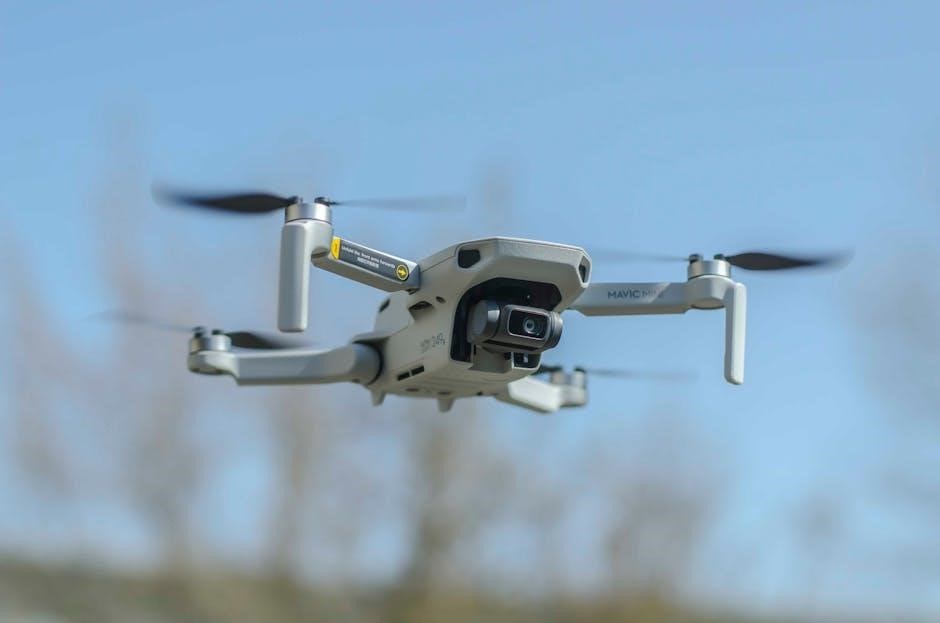
2.1 Drone Body & Propellers
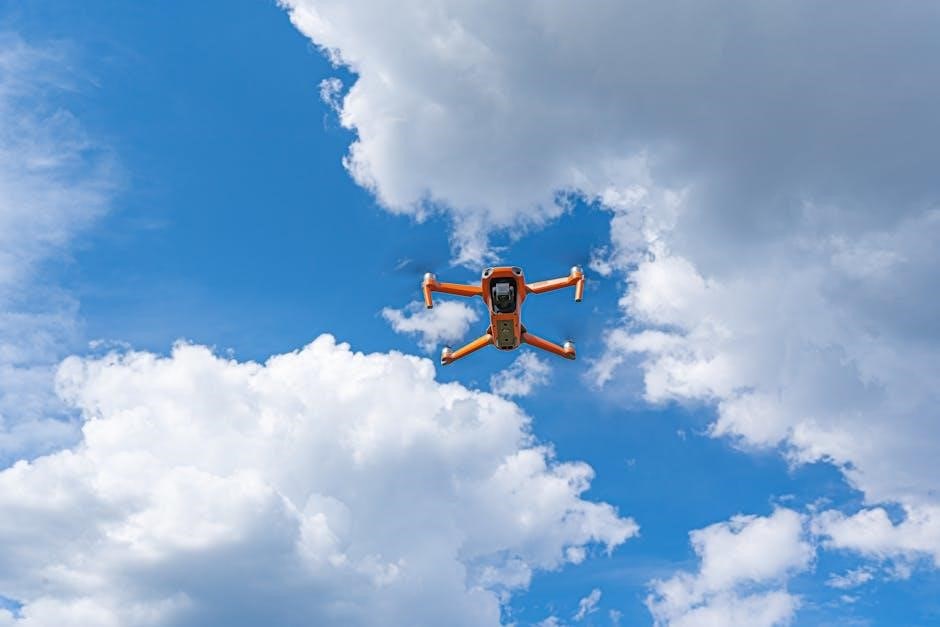
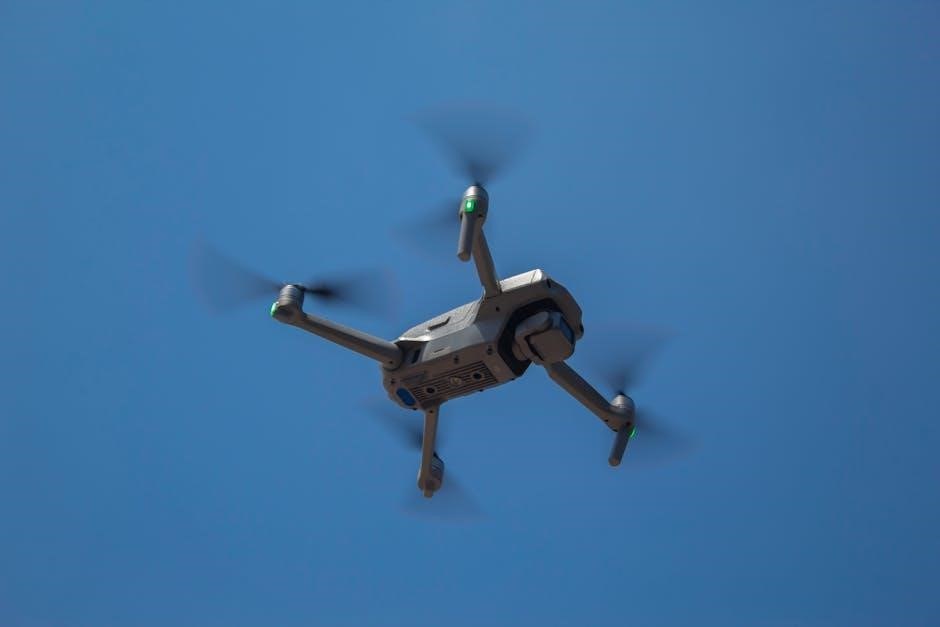
The Sky Rider drone boasts a lightweight yet durable frame, designed for optimal aerodynamics and stability. Carefully examine the drone body for any pre-existing damage. Attach the propellers, ensuring correct rotation – clockwise (CW) propellers mount on motors marked with ‘CW’ and counter-clockwise (CCW) on ‘CCW’ motors.
Securely fasten each propeller with the provided tools; loose propellers can cause instability. Regularly inspect propellers for cracks or bends, replacing them as needed. Proper propeller installation is crucial for safe and efficient flight. Always handle propellers with care to avoid injury.
2.2 Remote Controller
Your Sky Rider remote controller is the command center for piloting your drone; Familiarize yourself with the layout – including control sticks, buttons, and the LCD screen. The controller features extended range and precise control. Ensure the controller has sufficient battery charge before each flight.
The antenna should be fully extended for optimal signal strength. Understand the function of each button: power, takeoff/landing, return-to-home, and camera controls. Regularly check for firmware updates via the mobile app to ensure optimal performance and access to new features. Proper controller operation is vital for a safe flying experience.
2.3 Battery & Charging Hub
The Sky Rider drone utilizes a high-capacity lithium polymer battery for extended flight times. Always use the provided charging hub to ensure safe and efficient charging. Never use third-party chargers, as they may damage the battery or pose a safety risk. The charging hub features individual bay indicators displaying charging status.
A full charge typically takes 60-90 minutes. Store batteries in a cool, dry place when not in use. Avoid extreme temperatures. Regularly inspect batteries for any signs of damage, such as swelling or leakage. Proper battery management is crucial for longevity and safe operation.
2.4 Spare Parts & Tools
Your Sky Rider drone package includes essential spare parts for maintenance and repairs. This kit contains two sets of propellers (marked A and B – ensure correct installation!), a propeller removal tool, and a small Phillips-head screwdriver for minor adjustments. Additional spare parts, like landing gear and motor dampeners, are available for purchase separately.
Regularly check propeller condition for cracks or damage. Replace damaged propellers immediately to maintain flight stability. The included tool simplifies propeller changes. Keep the spare parts kit in a safe, accessible location. Familiarize yourself with the components before needing them for quick repairs.
Safety Precautions & Regulations
Prioritizing safety is paramount when operating your Sky Rider drone. Always inspect the drone for damage before each flight, paying close attention to propellers and battery connections. Maintain a visual line of sight with your drone at all times. Avoid flying near airports, crowds, or restricted airspace. Be mindful of weather conditions – strong winds and precipitation can affect flight performance.
Adhere to all local and national regulations regarding drone operation. Familiarize yourself with FAA guidelines and drone zone restrictions. Respect privacy and avoid flying over private property without permission. Responsible drone operation ensures a safe and enjoyable experience for everyone.
3.1 Pre-Flight Safety Checks
Before each flight, a thorough pre-flight check is crucial for safe operation. Begin by visually inspecting the drone body for any cracks or damage. Ensure propellers are securely attached, undamaged, and free of obstructions. Verify the battery is fully charged and correctly installed. Confirm the remote controller has sufficient battery life and is properly paired with the drone.
Calibrate the compass before each flight, especially in new locations. Check the GPS signal strength for accurate positioning. Confirm that the flight area is clear of obstacles and people. Finally, review the flight plan and weather conditions to ensure a safe and controlled flight.
3.2 FAA Regulations & Drone Zones
Understanding and adhering to FAA regulations is paramount for legal and safe drone operation. Register your drone with the FAA if it weighs over 0.55 lbs. Always fly within visual line of sight. Maintain an altitude below 400 feet and avoid flying near airports or restricted airspace.
Utilize FAA-approved drone zone maps (like B4UFLY) to identify no-fly zones and areas requiring authorization. Be aware of temporary flight restrictions (TFRs). Respect privacy and avoid flying over private property without permission. Familiarize yourself with Part 107 regulations for commercial operations.
Remote Controller Operation
The Sky Rider drone’s remote controller is your primary interface for flight control and accessing drone features. Before flight, ensure the controller is fully charged and has sufficient battery life. Familiarize yourself with the layout of the control sticks, buttons, and display screen. Understanding each function is crucial for a safe and enjoyable flying experience.
This section details pairing procedures, flight mode selection (Beginner, Intermediate, Expert), and customization options. Proper controller operation is essential for precise maneuvering and utilizing advanced features like Return-to-Home and intelligent flight modes.
4.1 Controller Layout & Buttons
The Sky Rider controller features dual control sticks for flight movement: left stick controls altitude and rotation, while the right manages forward/backward and left/right motion. Above the sticks are dedicated buttons for takeoff, landing, and Return-to-Home (RTH).
The central dial adjusts camera angle, and surrounding buttons initiate photo/video recording. A status display shows vital information like battery level, signal strength, and flight mode. The power button is located on the top, and USB charging port on the side. Understanding each button’s function ensures precise control and safe operation.
4.2 Pairing the Drone & Controller
To pair your Sky Rider drone and controller, first ensure both are powered on. On the controller, press and hold the pairing button (typically located near the power switch) until the indicator light begins to flash rapidly. Simultaneously, power on the drone; it will automatically enter pairing mode.
The controller will search for the drone’s signal. Once connected, the indicator light on both devices will become solid. If pairing fails, move closer, ensure no interference exists, and repeat the process. A successful connection is crucial for safe and responsive flight control.
4.3 Flight Mode Selection (Beginner, Intermediate, Expert)
The Sky Rider drone offers three distinct flight modes to accommodate varying skill levels. Beginner mode provides limited speed and range, coupled with enhanced stability assistance, ideal for first-time pilots. Intermediate mode unlocks increased speed and responsiveness, while still offering some flight assistance features.
Expert mode grants full control over the drone’s capabilities, disabling all flight assistance systems. This mode is recommended only for experienced pilots comfortable with manual flight control. Mode selection is typically accessed via the controller’s function buttons or the mobile app, allowing for customized flight experiences.
Battery Management & Charging
Proper battery care is crucial for maximizing flight time and extending the lifespan of your Sky Rider drone’s battery. Always use the provided charging hub and cable to ensure optimal charging performance and prevent damage. Avoid overcharging the battery, as this can degrade its capacity over time.
Regularly check the battery for any signs of physical damage, such as swelling or leaks. Store batteries in a cool, dry place away from direct sunlight and extreme temperatures. Understanding battery indicators on both the drone and charger is vital for safe and efficient operation.
5.1 Battery Installation & Removal
Before installing the battery, ensure the drone is powered off. Align the battery with the designated compartment and gently slide it into place until you hear a click, confirming a secure connection. To remove, press the release buttons located on either side of the battery compartment simultaneously.
Gently slide the battery outwards. Never force the battery in or out, as this could damage the battery or the drone’s internal components. Always inspect the battery contacts for cleanliness before installation. A properly seated battery is essential for safe and reliable flight operations.
5.2 Charging Procedures & Indicators
Connect the battery to the designated charging port on the charging hub. The hub’s LED indicator will illuminate, typically red, signifying the charging process has begun. A fully depleted battery will take approximately 60-90 minutes to reach full charge.
The LED indicator will change to green once charging is complete. Disconnect the battery immediately upon full charge to preserve battery health. Avoid overcharging, as it can reduce battery lifespan. Only use the provided charging hub and cable; third-party chargers may damage the battery or pose a safety risk.
5.3 Battery Life & Flight Time
The Sky Rider drone utilizes a high-capacity Lithium Polymer (LiPo) battery, providing an average flight time of 25-30 minutes under optimal conditions; Flight time is significantly affected by factors such as wind speed, temperature, and the use of advanced features like video recording or Follow Me mode.
Expect reduced flight times in colder temperatures. Regularly check the battery level via the remote controller’s display or the mobile app. It’s recommended to land the drone when the battery reaches 20% to avoid unexpected landings. Proper battery maintenance, as outlined in this manual, will maximize its lifespan and performance.
Flight Basics & Controls
Mastering the Sky Rider drone’s controls is crucial for a safe and enjoyable flying experience. Begin in an open, obstruction-free area. Use the left joystick to control altitude (up/down) and rotation (yaw – left/right). The right joystick manages forward/backward and left/right movement.
Practice gentle movements initially to familiarize yourself with the drone’s responsiveness. Understand that the drone will naturally drift; use small corrections to maintain a stable position. Always maintain visual line of sight with your drone. Familiarize yourself with the Return-to-Home function as a safety net.
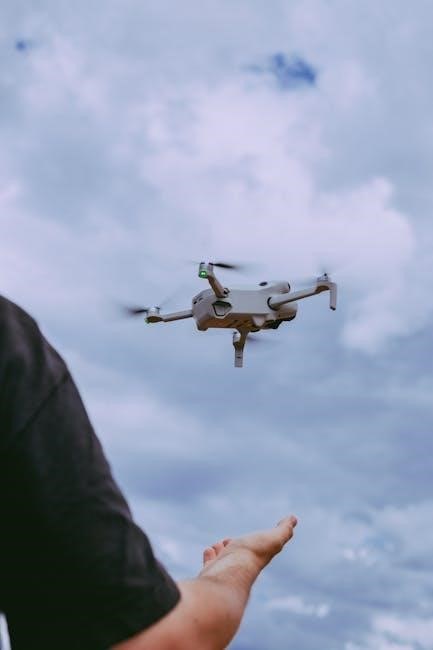
6.1 Takeoff & Landing Procedures
Safe takeoff and landing are paramount for drone operation. To initiate takeoff, ensure the drone is on a level surface and the propellers are clear. Simultaneously push both joysticks down and inwards (or use the auto-takeoff button). The drone will ascend to a pre-set altitude.
For landing, position the drone directly above the desired landing spot. Slowly descend using the left joystick, maintaining a controlled rate. Once on the ground, continue holding the joystick down until the motors stop. Avoid landing on uneven or sloped surfaces. Always monitor battery levels before landing.
6.2 Basic Flight Maneuvers (Ascend, Descend, Forward, Backward, Left, Right)
Mastering basic maneuvers is crucial for confident drone control. The left joystick controls altitude: up to ascend, down to descend. Gentle movements are key for smooth operation. The right joystick governs horizontal movement. Push forward to fly forward, backward to fly backward.
To move left, gently tilt the right joystick left; to move right, tilt it right. Practice these movements in an open area. Coordinate both joysticks for diagonal flight. Remember, small adjustments yield the best results. Familiarize yourself with the drone’s responsiveness before attempting complex maneuvers.
Camera Operation & Settings
The Sky Rider drone boasts a high-resolution camera for stunning aerial photography and videography. Access camera controls through the mobile app or dedicated buttons on the remote. Adjust the camera angle remotely for optimal framing. Explore various photo modes, including single shot, burst mode, and timed capture.
Video recording options include 1080p and 4K resolutions, with adjustable frame rates. Utilize the live video feed on your mobile device for real-time monitoring. Fine-tune camera settings like ISO, white balance, and exposure for professional-quality results. Regularly check storage capacity before each flight to avoid interruptions.
7.1 Camera Angle Adjustment
Precisely control the Sky Rider drone’s camera angle for dynamic shots. Utilize the dedicated tilt control wheel on the remote controller for smooth adjustments. The mobile app provides a digital slider for finer control and precise angle readings. Achieve a full 90-degree vertical range, from looking straight down to a forward-facing perspective.
Remember to adjust the angle before initiating flight for optimal stability. Avoid rapid angle changes during flight, as this can affect video smoothness. Experiment with different angles to capture unique perspectives and creative compositions. Regularly calibrate the gimbal for accurate and consistent angle control.
7.2 Photo & Video Recording Modes
The Sky Rider drone offers versatile capture options. Select from Single Shot, Burst Mode (3/5/7 photos), and Time-Lapse for still photography. Video modes include 4K at 30/60fps, 1080p at various frame rates, and a slow-motion mode at 120fps. Utilize the mobile app to access Pro settings, granting manual control over ISO, shutter speed, and white balance.
Experiment with different modes to suit your creative vision. Burst mode is ideal for action shots, while time-lapse captures stunning long-term changes. Ensure sufficient storage space on your microSD card before recording extended videos.
7.3 Live Video Feed & Mobile App Connection
Establish a seamless connection between your Sky Rider drone and your smartphone using the dedicated mobile app; Download the app from your device’s app store and follow the on-screen instructions to pair with the drone via Wi-Fi. Once connected, enjoy a real-time, high-definition live video feed directly on your phone’s screen.
The app provides access to advanced settings, flight telemetry, and intelligent flight modes. Utilize the app’s interface to adjust camera angles, start/stop recordings, and monitor battery levels. A stable Wi-Fi connection is crucial for optimal performance and range.
Advanced Flight Features
The Sky Rider drone boasts several intelligent flight features designed to enhance your aerial experience. The Return-to-Home (RTH) function automatically navigates the drone back to its takeoff point if signal is lost or battery levels are critically low, ensuring a safe return.
Follow Me Mode allows the drone to autonomously track and follow a selected subject, keeping them centered in the frame. Orbit Mode enables the drone to circle around a designated point of interest, capturing stunning panoramic footage. Explore these features within the mobile app for creative and effortless flight control.
8.1 Return-to-Home (RTH) Function
The Return-to-Home (RTH) function is a critical safety feature of the Sky Rider drone. Activated manually or automatically upon signal loss or low battery, RTH initiates a return flight to the recorded takeoff point. Ensure a clear GPS signal for accurate navigation.
Customize RTH altitude within the app to avoid obstacles during the return journey. Before each flight, verify the RTH altitude is sufficient for your environment. Understand that strong winds can affect RTH accuracy. Regularly calibrate the drone’s compass for optimal performance. Familiarize yourself with the RTH override procedure in case of emergencies.
8.2 Follow Me Mode
The Follow Me mode allows the Sky Rider drone to autonomously track and follow a designated subject – typically the remote controller operator. Activation is done through the mobile app, establishing a secure connection for precise tracking. Maintain a clear, unobstructed view between the drone and the subject for optimal performance.
Be aware of surrounding obstacles and potential hazards while using Follow Me mode. Adjust the following distance within the app to suit your environment. Strong winds or GPS signal interference can affect tracking accuracy. Regularly check the drone’s battery level during operation, as this mode consumes more power.
8.3 Orbit Mode
Orbit Mode enables the Sky Rider drone to circle a selected point of interest, maintaining a consistent distance and altitude. Initiate this feature via the mobile app, defining the orbit’s radius and direction before activation. This mode is ideal for capturing dynamic, cinematic footage of stationary subjects.
Ensure sufficient open space around the target for a safe orbit. Monitor the drone’s flight path and adjust parameters if necessary to avoid obstacles. Wind conditions can influence the orbit’s stability; compensate accordingly. Regularly verify battery levels, as Orbit Mode demands considerable power. Practice in an open area before using it for critical shots.
Troubleshooting Common Issues
This section addresses frequent problems encountered with the Sky Rider drone, offering solutions to restore optimal functionality. If the drone fails to connect, ensure both the drone and controller are powered on and in pairing mode. For battery charging issues, verify the charger and cable are securely connected, and the battery isn’t damaged.
If the drone drifts during flight, calibrate the IMU (Inertial Measurement Unit) following the instructions in Section 6.1. Check propeller integrity and replace any damaged blades. Consult the online FAQ or contact customer support for unresolved issues. Always prioritize safety and avoid flying a malfunctioning drone.
9.1 Drone Won’t Connect to Controller
If your Sky Rider drone isn’t connecting to the remote controller, begin with a power cycle of both devices. Confirm the controller has sufficient battery charge and the drone battery is properly installed and charged. Ensure you’re attempting to pair the drone and controller in an open area, free from interference.
Refer to Section 4.2 for detailed pairing instructions. Verify the drone is in pairing mode (usually indicated by a flashing LED). If problems persist, try resetting the controller to factory settings (consult Section 4.1). Contact customer support if the issue remains unresolved, providing details about the troubleshooting steps taken.
9.2 Battery Not Charging
If your Sky Rider drone battery isn’t charging, first inspect the charging cable and hub for any visible damage. Ensure the cable is securely connected to both the battery and the charging hub, and that the hub is plugged into a functioning power outlet. Try a different outlet to rule out power source issues.
Refer to Section 5.2 for proper charging procedures and indicator light meanings. A solid or flashing indicator light signifies charging status. If no light appears, the battery or charger may be faulty; Avoid using third-party chargers, as they can damage the battery. Contact customer support for assistance if the problem continues.
9.3 Drone Drifting During Flight
If your Sky Rider drone consistently drifts during flight, calibrate the IMU (Inertial Measurement Unit) following the instructions in Section 3.1. This ensures accurate positioning and stability. Wind conditions can also contribute to drift; avoid flying in strong winds or adjust flight paths accordingly.
Check propellers for damage or imbalance (see Section 10.1). Uneven propellers can cause instability. Ensure the drone is on a level surface during takeoff and landing. If drifting persists, reset the drone’s flight controller to factory settings – note this will erase custom settings. Contact support if calibration and hardware checks don’t resolve the issue.
Maintenance & Care
Regular maintenance ensures optimal performance and extends the lifespan of your Sky Rider drone. After each flight, inspect the drone for any physical damage, particularly to the propellers and body. Clean the drone with a soft, dry cloth to remove dust and debris. Avoid using liquids or harsh chemicals.
Store the drone in a cool, dry place, away from direct sunlight and extreme temperatures. Periodically check the battery connections and ensure they are secure. Refer to Section 10.1 for detailed propeller replacement instructions. Proper care and maintenance will guarantee many hours of enjoyable and safe flight experiences with your Sky Rider drone.
10.1 Propeller Replacement
Damaged propellers significantly impact flight stability and safety; replacement is crucial. First, power off the drone and disconnect the battery. Identify the correct propeller – marked ‘A’ or ‘B’ – for each motor. Use the provided tool to loosen the screw securing the damaged propeller.
Carefully remove the old propeller and install the new one, ensuring it’s firmly tightened. Incorrect installation can lead to malfunction. Always replace propellers in pairs to maintain balanced flight characteristics. Refer to the diagrams in the manual for proper orientation. Regularly inspect propellers for cracks or bends, and replace as needed for optimal performance.
10.2 Cleaning & Storage
Proper cleaning and storage extend your Sky Rider drone’s lifespan. After each flight, gently wipe down the drone’s body with a soft, damp cloth to remove dirt and debris. Avoid using harsh chemicals or solvents. Inspect the propellers for damage and clean them similarly.
For storage, ensure the battery is partially charged (around 40-60%) to prevent degradation. Store the drone in a cool, dry place, away from direct sunlight and extreme temperatures. Use the provided carrying case for protection during transport. Regularly check the battery and other components for any signs of wear or damage before future flights.